
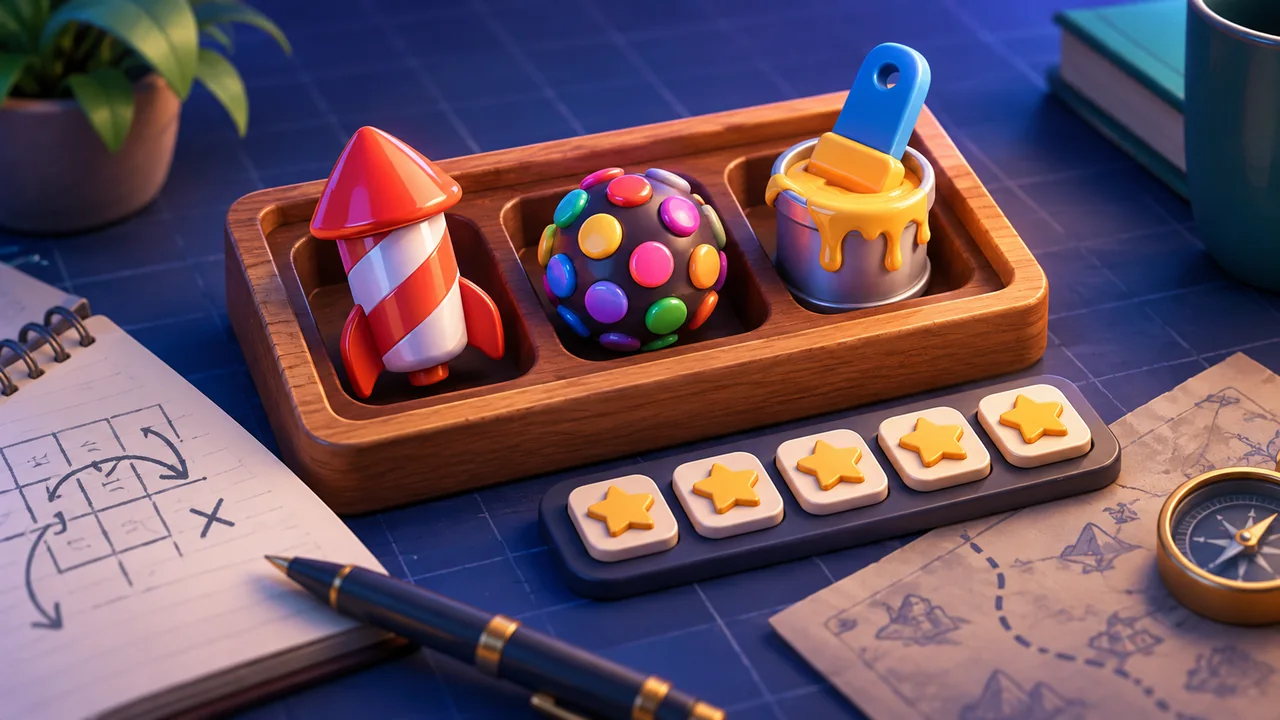
A booster is valuable only when it changes the part of the board that matters. Evaluate its useful coverage, timing and opportunity cost instead of saving every special piece for a dramatic final move.
Measure useful coverage
Count objective cells a booster can affect, not its total animation area. A row clear that hits two required crates has more useful coverage than a larger explosion in empty space. When blockers have layers, include how many layers the move removes.
Creation cost matters
If making a booster takes one setup move and activating it takes another, compare those two moves with two ordinary objective clears. The booster wins when it reaches protected cells, triggers other pieces or improves the board enough to justify the cost.
Worked example
You have six moves, four targets in one column and a colour cube near the centre. Combining it with a directional piece could clear several lines, but moving the pieces together costs two moves. If a vertical clear already aligns with all four targets, use it directly. If blockers prevent the direct line and the combination will remove them plus create cascades, the setup can be justified.
Do not hoard automatically
Saved boosters can become trapped after the board narrows. Use them while the objective density is high and activation space remains. On the other hand, do not fire a booster merely because it exists; first check whether a small match can move it into a stronger position.
Understand game-specific rules
Names such as rocket, drill, bomb, brush or colour cube are not standardized. One game may combine adjacent boosters automatically; another may require a swap or tap. Follow the version’s tutorial and use this guide as a decision framework, not a substitute for exact rules.
Post-level review
If you failed with unused boosters, ask whether you waited too long. If you used them early but left isolated objectives, inspect alignment and coverage. One concrete adjustment per retry is more useful than repeating the same opening. Continue with the broader blast combo planning guide or review Toy Box Party Time.
Match booster type to obstacle geometry
Directional clears suit targets distributed in a row or column. Area blasts suit dense clusters and layered blockers. Colour pieces suit boards where one required colour has accumulated. A position-changing tool is valuable when a powerful piece exists but cannot reach the target. The best booster is defined by geometry, not rarity.
Worked comparison: use now or save
A bomb touches two of six crates and a falling object is three rows above the exit. Using the bomb now opens the centre and lets the object fall; saving it might allow contact with four crates later, but only if two uncertain colours appear. With limited moves, the guaranteed progress can be stronger. If the future alignment is already visible and costs one simple setup, saving may win. Separate guaranteed value from hoped-for value.
Booster inventory and purchase pressure
Consumable inventory can make players overvalue saving. A booster already spent to enter a level has no extra value if the level is lost with it unused. At the same time, a purchase prompt should not determine strategy. Decide a spending limit before play, use platform purchase authentication and do not interpret a paid booster as proof that a level is otherwise impossible.
Recognize anti-synergy
Not every pair of special pieces improves each other. One can clear the colour needed to position another, trigger it in the wrong orientation or remove support beneath a carefully aligned target. Before combining, trace the likely order of effects. If the game gives a preview or highlight, use it.
A reusable booster checklist
- Which objective cells will definitely change?
- What move or inventory cost is required?
- Will gravity improve or damage the next state?
- Is the special piece at risk of becoming trapped?
- Would two separate activations cover more useful ground?
This checklist will not replace version-specific rules, but it turns a visually tempting decision into a comparison that can be reviewed after failure.
Practice without spending inventory
Use early or replayable levels to learn each booster’s footprint before relying on a scarce copy. Predict the cells that will change, activate the piece and compare the result. If the game randomizes direction or replacement colours, record that uncertainty in your decision. Practice converts a booster from a mysterious reward into a tool whose opportunity cost you can judge.
How this guide was produced
The editorial team compared common puzzle objective patterns, separated version-specific rules from general decision methods, and used hypothetical worked examples rather than claiming access to an unverified current build. Submit corrections through Contact.